Already know the basic steps? These are the techniques and small details that separate a good looking laminate floor from a great one.
Tools required before you begin to install laminate flooring
- Saws. A miter saw for clean cross cuts, a table saw or circular saw for long rips and a jigsaw for curves and notches.
- Oscillating multi tool. The easiest way to undercut door casings.
- Tapping block and pull bar. For closing joints without damaging edges.
- Long straightedge. At least six feet, for checking subfloor flatness.
- Moisture meter. Especially important on concrete.
- Spacers, tape measure, square and pencil.
Preparing the subfloor properly
Most laminate failures start below the floor. Run a long straightedge across the room in several directions. Mark any gaps under the straightedge and any high spots. Grind high spots on concrete or sand them on plywood. Fill low spots with a patch or leveling compound. Screw down any loose plywood to stop squeaks before they start.
On slabs, test for moisture and use a moisture barrier. In humid climates like Houston, this is not optional.
Choosing the right installation layout
Direction
Run planks parallel to the longest wall or the main light source. In hallways, run them along the length of the hall.
Balancing rows
Measure the room width and plan so the first and last rows are similar in width and neither is a thin sliver.
Stagger pattern
Random staggers look most natural. Avoid an obvious stair step pattern and keep end joints well apart in neighboring rows.
Mixing boxes
Open three or four boxes at once and pull from each so printed patterns do not repeat side by side.
Installing underlayment and managing expansion gaps
Lay underlayment one row ahead of your planks so you are not walking on it more than needed. Tape seams. On concrete, overlap the moisture barrier as the manufacturer directs.
Leave the specified expansion gap at every wall, door frame, cabinet, pipe and fixed object. Large rooms and long runs may need expansion breaks at doorways, covered with a transition strip. Never fasten trim or anything heavy through the floor.
Locking planks and making clean cuts
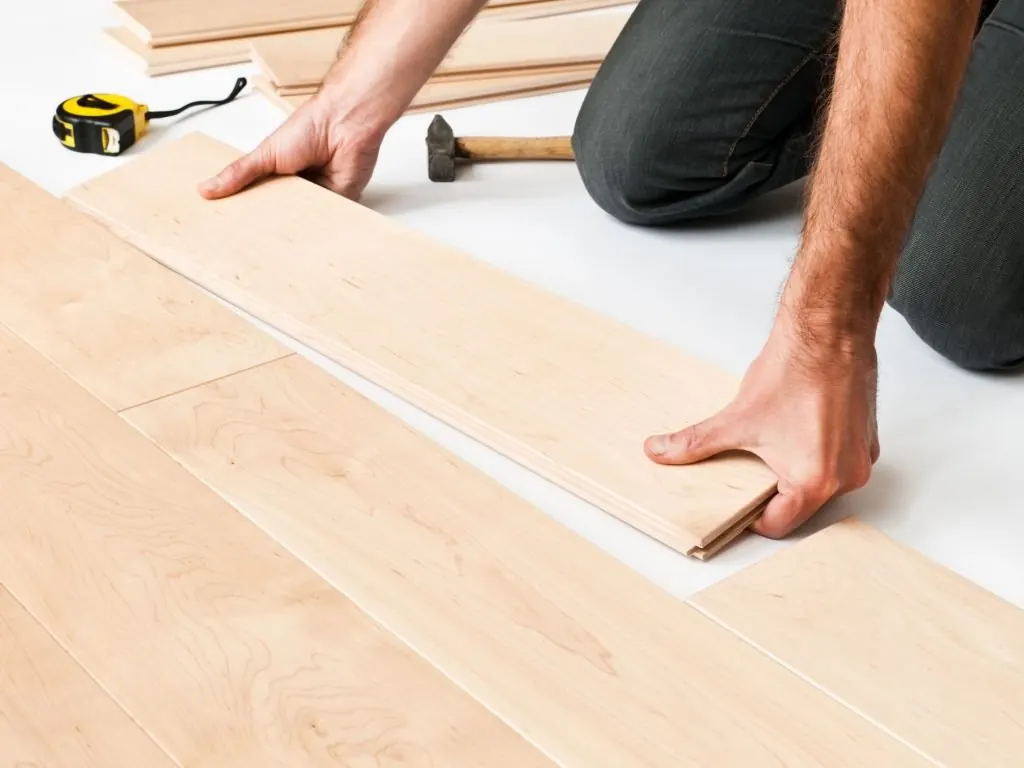
- Angle the long edge into the previous row and lower it while pressing forward.
- Tap end joints closed with the block, working gently along the length.
- Cut with the decorative face up on a miter saw and face down with a circular saw or jigsaw to reduce chipping.
- Use a sharp, fine tooth blade for clean edges.
- Undercut door casings so planks slide under for a built in look.
Finishing touches and long term care
Remove spacers, then install baseboards or quarter round nailed to the wall. Add transitions where laminate meets tile, carpet or hardwood. Caulk around fixtures in kitchens if the manufacturer recommends it.
For care, sweep often, damp mop with a well wrung pad and a laminate cleaner, use felt pads and never steam mop. Our guide on how to clean laminate floors has more detail.
Common mistakes to avoid during installation
- Installing over an uneven subfloor
- Skipping the moisture barrier on concrete
- Leaving too small an expansion gap, or none at all
- Lining up end joints in neighboring rows
- Installing kitchen islands or cabinets on top of a floating floor
- Rushing the last row without measuring at several points
Summing it up
Good laminate floors come from careful prep, a planned layout and attention to small details. If you want it done right the first time, Reliable Hardwood Floors installs laminate floors across Houston. You can also follow our beginner friendly twelve step guide.