
Learning how to install laminate flooring is a popular choice for homeowners who want to upgrade without paying for hardwood. Laminate is not restricted to moisture. It is strong and comes in figures that resemble wood or stone. With proper planning and methods, the job is good and can take a long time. Research indicates that laminate remains among the best flooring options in the U.S. due to its affordability, ease of cleaning, and modern appearance. Planning the entire process before your commencement prevents expensive errors and provides a decent finish.
Reliable Hardwood Floors has several years of experience in every work performed, and this experience is required by homeowners who intend to obtain assistance or flawless outcomes. They are aware of how it is crucial to be exact, to prepare the undercarriage properly, and to adhere to the regulations of the manufacturer that retain the warranty. With their professional employees, one can save on errors that are necessary, time will be saved, and your laminate floor will be durable.
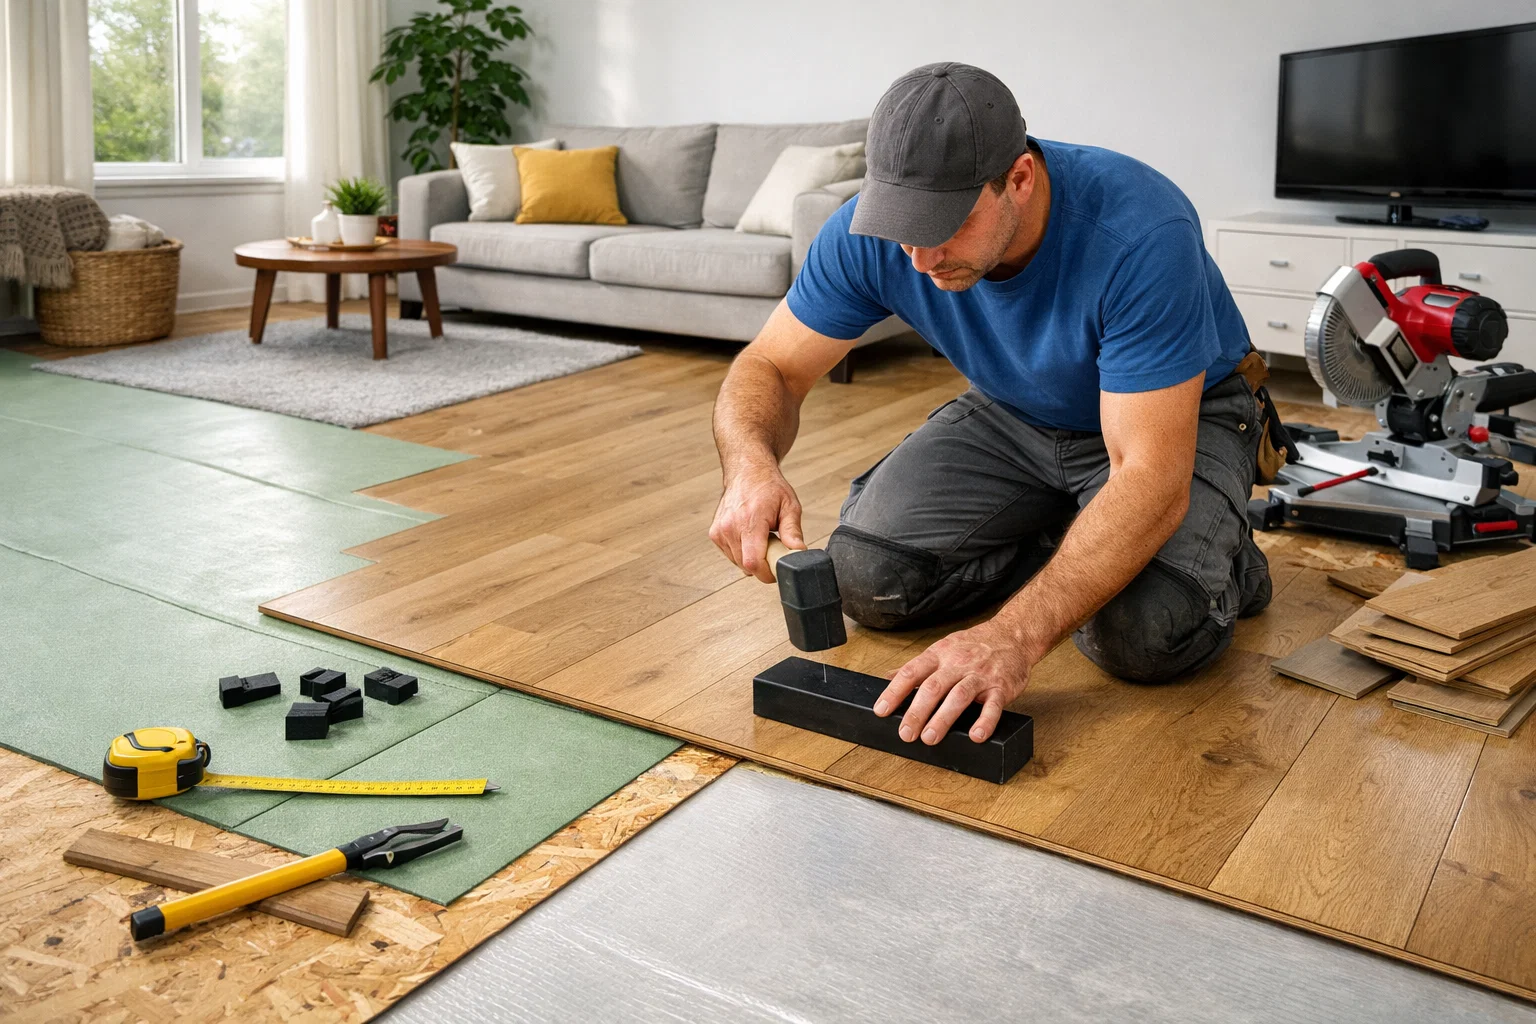
Tools Required Before You Begin To Install Laminate Flooring
Before you install laminate flooring, gathering the right tools is essential for accuracy and efficiency. A tape measure, a set of spacers, a utility knife, a tapping block, a pull bar, and a rubber mallet are required. A miter saw, or a jigsaw, can neatly cut through the boards, particularly in corners and around doors. Use gloves and eye protection. Copper work prevents the edges from being chipped and the seams odd, producing an appearance of neatness.
Preparing the Subfloor Properly
A smooth, dry, and level subfloor is critical when you install laminate flooring. The boards may move, slide, get wet, or wear out prematurely due to dust, crumbs, dampness, or protrusions. You might need to sand, patch, or install a moisture barrier on the subfloor.
According to studies, laminate fails because of poor installation. When time is taken to correct these issues, this makes the floor stable and durable.
Choosing the Right Installation Layout
The layout will be important to the appearance of the floor. When you install laminate flooring, starting along the longest wall often creates the most balanced appearance. Stagger the seams in such a way that the floor is firmer and not as unattractive.
Glue the boards together on paper to fit the boards first, before they develop small ends and odd cuts. Proper planning brings about waste reduction and produces an improved outcome.
Installing Underlayment and Managing Expansion Gaps
Underlayment will cushion the floor, prevent noise, and moisture. Most have a layer under the boards, and in most instances, this is not attached. As you install laminate flooring, it’s important to leave expansion gaps around walls, doorways, and fixed objects.
With hot air, the boards expand, and with cold air, they contract, and hence those cracks prevent them from buckling or rising.
Locking Planks and Making Clean Cuts
The boards are connected by click-lock. When you install laminate flooring, applying gentle pressure and using a tapping block helps lock joints without damaging edges.
All the vents, door frames, and odd spaces should be cut up to leave a clean appearance. Be specific, particularly where people spend most of their time.
Finishing Touches and Long-Term Care
When you are done, you can attach baseboards or quarter-round moulding, which will cover the gaps to complete the appearance. After you install laminate flooring, proper maintenance helps preserve its appearance.
Clean every day, dry it, light mop, wipe with cleaners that the manufacturer claims are harmless. The floor will last 15 to 25 years when well taken care of, and thus, it is a good purchase.
Common Mistakes to Avoid During Installation
While many homeowners enjoy DIY projects, professional installation can be a better option for complex layouts, large areas, or tight timelines, especially when trying to install laminate flooring correctly the first time.
The professionals are fully aware of the working of the material, how it expands, and the rules of the maker. The choice of seasoned installers reduces risk, maintains homogeneity, and provides long-term satisfaction.
Summing It Up
While many homeowners enjoy DIY projects, professional installation can be a better option for complex layouts, large areas, or tight timelines, especially when trying to install laminate flooring correctly the first time.
The professionals are fully aware of the working of the material, how it expands, and the rules of the maker. The choice of seasoned installers reduces risk, maintains homogeneity, and provides long-term satisfaction.
Frequently Asked Questions
How long does laminate flooring installation usually take?
Most standard rooms can be completed in one to two days, depending on size and layout.
Can laminate flooring be installed over existing floors?
Yes, provided the existing surface is flat, clean, and structurally sound.
Is laminate flooring water-resistant?
Many modern laminate options are water-resistant, but standing water should still be avoided.
Does laminate flooring need acclimation?
Yes, planks should acclimate to the room for at least 48 hours before installation.
Is professional installation worth it?
Professional installation ensures accuracy, durability, and warranty compliance.