
Hardwood flooring has long been considered one of the most elegant and valuable upgrades for any home. It brings warmth, natural beauty, and long-lasting durability that few other flooring options can match. Whether you’re renovating your current space or building a new home, hardwood installation can completely transform the look and feel of your interiors.
In this guide, we’ll walk you through everything you need to know about hardwood installation—from choosing the right type of wood to the installation process, maintenance tips, and long-term benefits.
Why Choose Hardwood Flooring?
Hardwood floors remain a top choice for homeowners for several important reasons:
1. Timeless Beauty
Wood flooring never goes out of style. Its natural grain patterns and warm tones add character and elegance to any room.
2. Long-Lasting Durability
When properly installed and maintained, hardwood floors can last for decades—sometimes even a lifetime.
3. Increased Property Value
Homes with hardwood flooring often have higher resale value because buyers see it as a premium feature.
4. Easy Maintenance
Unlike carpet, hardwood floors don’t trap dust, allergens, or pet hair, making them easier to clean and healthier for indoor air quality.
5. Versatility in Design
Hardwood complements almost any interior style, from modern minimalist to rustic farmhouse aesthetics.
Types of Hardwood Flooring
Before installation, it’s important to choose the right type of hardwood for your space. The two main categories are:
1. Solid Hardwood
Solid hardwood is made from a single piece of natural wood. It is highly durable and can be sanded and refinished multiple times.
Pros:
- Extremely long-lasting
- Can be refinished multiple times
- Adds strong resale value
Cons:
- Sensitive to moisture and humidity
- Higher cost compared to other options
2. Engineered Hardwood
Engineered hardwood consists of a real wood top layer bonded over plywood or high-density fiberboard.
Pros:
- More resistant to moisture and temperature changes
- Easier installation
- Suitable for basements and kitchens
Cons:
- Limited refinishing options
- Slightly less durable than solid hardwood over decades
Hardwood Installation Methods
There are several installation techniques used depending on the type of wood and subfloor condition:
1. Nail-Down Installation
This traditional method is commonly used for solid hardwood flooring. The planks are nailed into a wooden subfloor, providing a strong and stable foundation.
2. Glue-Down Installation
In this method, adhesive is used to attach the flooring to the subfloor. It is often used for engineered hardwood and concrete surfaces.
3. Floating Installation
Floating floors are not attached directly to the subfloor. Instead, planks are clicked or locked together, making installation faster and easier. This is common with engineered hardwood.
Step-by-Step Hardwood Installation Process
A proper installation ensures durability and a flawless finish. Here’s how professionals typically install hardwood flooring:
Step 1: Preparation of Subfloor
The subfloor must be clean, dry, and level. Any uneven areas are repaired to prevent future issues like squeaking or gaps.
Step 2: Acclimation of Wood
Hardwood planks are left in the installation room for a few days to adjust to temperature and humidity levels. This reduces expansion or contraction after installation.
Step 3: Layout Planning
Installers plan the layout to ensure balanced spacing and alignment. This step helps avoid awkward cuts or uneven patterns.
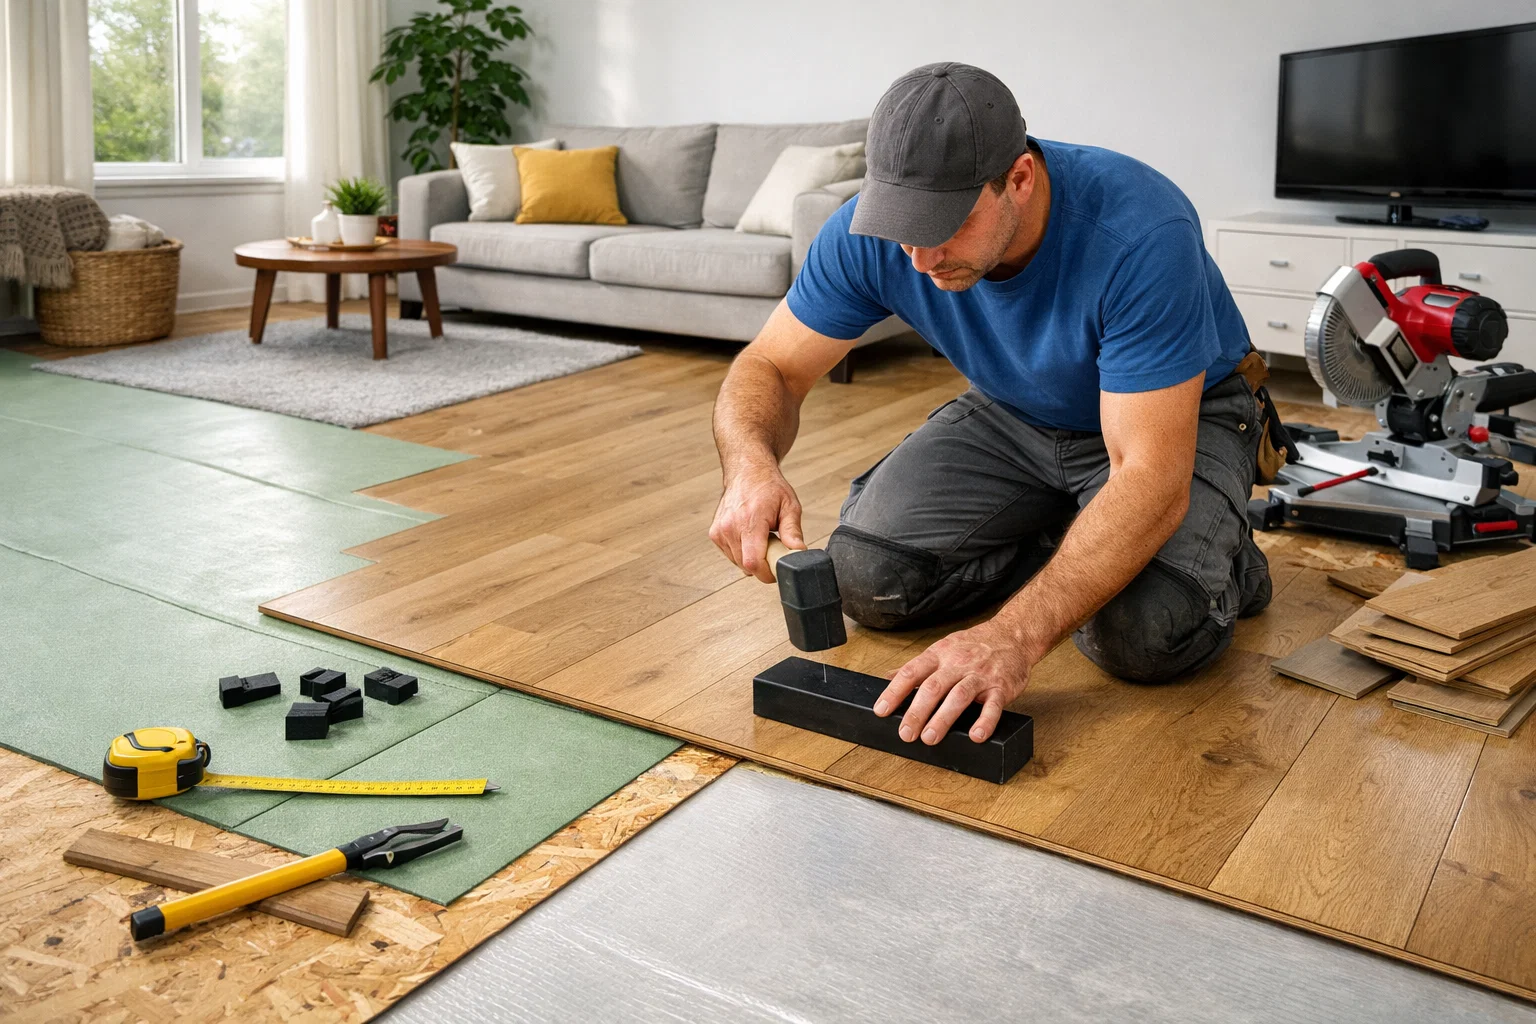
Step 4: Installation of Planks
Depending on the chosen method (nail, glue, or floating), planks are carefully installed row by row. Precision is important to maintain tight seams and a smooth surface.
Step 5: Cutting and Fitting
Edges, corners, and doorways require custom cutting to ensure a perfect fit.
Step 6: Finishing Touches
Baseboards and trims are installed to cover expansion gaps and give the floor a polished look.
Step 7: Cleaning and Inspection
The floor is cleaned thoroughly and inspected for any imperfections before final approval.
Cost of Hardwood Installation
The cost of hardwood installation depends on several factors:
- Type of wood (oak, maple, walnut, etc.)
- Flooring quality (solid or engineered)
- Room size
- Labor charges in your area
- Preparation work required
While hardwood can be more expensive upfront compared to laminate or vinyl, its long-term value and durability often make it a worthwhile investment.
Maintenance Tips for Hardwood Floors
To keep your hardwood floors looking new for years, follow these simple maintenance tips:
- Sweep or vacuum regularly to remove dust and dirt
- Use a damp mop instead of soaking the floor with water
- Place rugs in high-traffic areas
- Avoid dragging heavy furniture across the floor
- Use protective pads under furniture legs
- Refinish the surface when it starts to show wear
Proper care will significantly extend the life and beauty of your flooring.
Common Mistakes to Avoid
During hardwood installation, avoid these common mistakes:
- Skipping acclimation of wood before installation
- Installing on an uneven subfloor
- Using incorrect adhesive or nails
- Ignoring humidity levels in the room
- Poor planning of layout and direction
Hiring experienced professionals can help you avoid these costly errors.
Final Thoughts
Hardwood installation is one of the best investments you can make for your home. It not only enhances the beauty of your space but also increases its value and comfort. With the right material, proper installation method, and regular maintenance, hardwood floors can serve you beautifully for many years.
Whether you prefer the classic charm of solid wood or the flexibility of engineered flooring, hardwood remains a timeless choice that never goes out of style.