
If your hardwood floors are starting to look worn, scratched, or dull, refinishing them can bring back their original beauty and extend their lifespan. With the right tools, techniques, and planning, you can achieve a professional-quality finish even as a DIY enthusiast. In this guide, we’ll walk you through five essential steps for expert hardwood floor refinishing. Whether you’re restoring decades-old flooring or simply updating a room, these tips will help you do the job right.
Step 1: Prepare the Room
Before any sanding or staining begins, preparation is key. Start by clearing the entire space of furniture, rugs, and decorative items. Carefully take off the baseboards or shoe moldings so they can be reused later without damage. Look for any exposed nails and drive them slightly below the surface using a hammer and nail punch to avoid interference with sanding. After that, sweep and vacuum the floor to remove all dust, debris, and grime.
Once the surface is clean, examine the flooring for signs of wear or damage. Replace any broken or unstable planks and fill minor gaps or cracks with wood filler. Taking time for this preparation will help create a smooth, even surface and reduce the chance of complications later in the refinishing process.
| Pro Tip: Improve air circulation by keeping windows and doors open while you work. To minimize dust spreading throughout your home, use plastic sheeting to block off nearby rooms. |
Step 2: Sand the Hardwood Surface
Sanding removes the old finish, smooths out imperfections, and preps the wood to absorb new stain or finish evenly. Rent a drum sander or orbital sander for large areas, and use an edge sander for corners and edges. Begin with a coarse-grit sandpaper, typically 36 or 40 grit, then gradually move to finer grits (60, 80, and finally 100 or 120 grit).
Always sand following the wood grain to maintain a smooth finish. Avoid leaving the sander in one spot for too long to prevent uneven marks or dents. Vacuum and tack-cloth the surface after each sanding pass to eliminate dust.
| Pro Tip: Replace sandpaper frequently to maintain efficiency and avoid burn marks on the wood. |
Step 3: Clean and Assess
Once sanding is complete, it’s time to clean again. Vacuum thoroughly and wipe the floor with a tack cloth to remove all dust particles. This step is essential to avoid future issues like buckling or spacing between the boards due to trapped debris under the finish.
Inspect the floor under natural light for any missed spots or scratches that may require spot-sanding. A perfect finish begins with a clean and level surface.
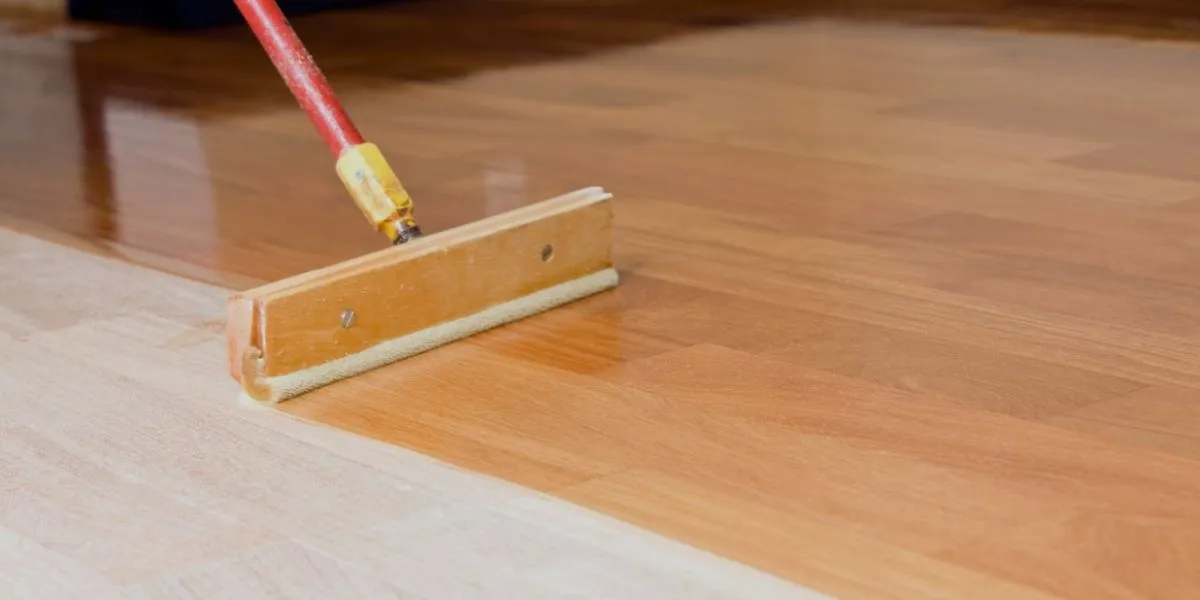
Step 4: Apply Stain and Finish
If you’re changing the floor’s color, apply a wood stain using a clean cloth or applicator pad. Apply the stain in manageable sections, promptly wiping away any excess to maintain consistent, even color throughout. Allow the stain to dry fully, as per the manufacturer’s instructions.
Next, apply the protective finish. Polyurethane is a popular choice due to its durability. You can choose between oil-based and water-based options depending on your preference for drying time and sheen. Use a high-quality brush or roller to apply light, even coats. Let each layer dry thoroughly before adding another to ensure a smooth, durable finish.
Usually, two to three coats are sufficient for residential use. Gently buff the surface between coats using a fine-grit sanding screen to help the next layer adhere better.
Step 5: Cure and Reinstall
After the final coat of finish is dry, let the floor cure. Water-based finishes typically cure within 2 to 3 days, while oil-based finishes can take up to a week. Avoid placing furniture or rugs until curing is complete.
Once the floor is cured, reinstall the baseboards or shoe molding. Move furniture back carefully to avoid scratching the new surface. Enjoy your refreshed hardwood flooring, now protected and glowing.
Also, if you ever need help with hardwood floor installation, consider it an ideal time to consult with professionals like Reliable Hardwood Floors for a seamless experience.
Final Thoughts
Refinishing hardwood floors is among the most effective ways to enhance your home’s appearance and value. With attention to detail and proper planning, you can restore beauty and extend the life of your flooring. By following these five essential steps, you’ll gain not only a refreshed floor but also the satisfaction of a job well done.
For expert advice or assistance, Reliable Hardwood Floors is here to help homeowners with installation, refinishing, and long-term care of their wood flooring investments.
FAQs
Q1: How long does it take to refinish hardwood floors?
A: Refinishing typically takes between 3 to 5 days, depending on factors like the size of the space, the type of finish used, and how long each coat needs to dry.
Q2: Can I walk on floors between coats?
A: It is best to avoid walking on the floor between coats. If necessary, wear clean socks to avoid contamination.
Q3: When is the right time to refinish hardwood floors?
A: On average, every 7 to 10 years depending on foot traffic and maintenance.
Q4: Is refinishing the same as resurfacing?
A: Not quite. Refinishing involves sanding and applying a new finish, while resurfacing may include replacing boards and a deeper restoration.
Q5: Can I refinish engineered hardwood?
A: Engineered hardwood floors can typically be refinished one or two times, depending on how thick the top veneer layer is.